Installing Vinyl Flooring on Underfloor Heating - A Step-by-Step Guide

 ca. 8 Min.
 0
0 09.09.2024
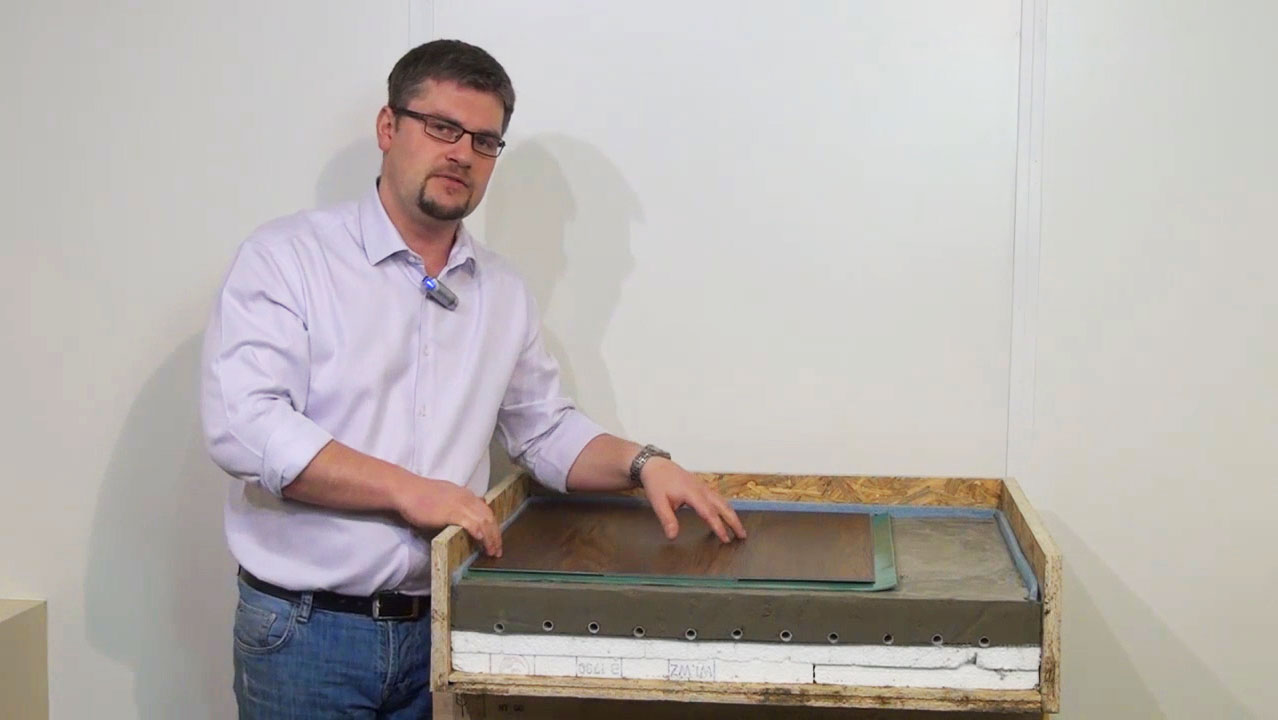
If you want to install vinyl flooring on underfloor heating, there are a few important points to consider. An underfloor heating system consists of a network of pipes in which heated water circulates. Due to the uniform, moderate temperatures of the water, vinyl flooring is an excellent choice as a floor covering. To ensure that the heat energy only warms the room air and not the floor, the heating is installed on an insulation layer made of polystyrene. This ensures that the heat is radiated exclusively into the screed, which acts as a heat reservoir. From there, the heat passes into the room air, creating a cosy living environment.
Content
Screed as a Heat Reservoir
At the start of the heating period in autumn, an underfloor heating system requires a lead time of 10 to 12 hours. During this time, the screed warms up evenly and then acts as a heat reservoir. During the heating season, the screed remains constantly slightly warm, even if the heating is turned down at night. After the heating season, the screed cools down slowly.
Suitability of Vinyl Flooring for Underfloor Heating
Vinyl flooring is well suited for installation over underfloor heating despite its tendency to expand and contract with temperature fluctuations. The main reason for this is the relatively constant temperature in the heating water pipes. Manufacturers guarantee that the floor temperature will not exceed 26 to 28 degrees Celsius. For low-temperature heating systems, commonly used in new buildings, this is a given. Ensure that the vinyl flooring is specifically marked for underfloor heating. If this marking is missing, get a written confirmation from the seller.
At planeo, you will find a wide range of click vinyl and adhesive vinyl suitable for underfloor heating - visit us and discover the right products for your project!
Special Insulation Required
For floating installation of vinyl flooring on underfloor heating, special sound insulation is necessary. These insulations contain quartz sand, which efficiently stores heat and evenly releases it into the room. Do not use insulating materials such as polystyrene, cork, or foam, as they prevent heat distribution and reduce the efficiency of the underfloor heating.
For full-surface bonding, however, no sound insulation should be used. Here, the vinyl flooring is glued directly to the prepared subfloor to ensure optimal heat transfer.
Discover suitable sound insulations for your project at planeo and ensure optimal heat transfer and sound insulation!
Installation Methods
Floating Installation: Step-by-Step Guide
In a floating installation, the vinyl flooring is not fixed to the subfloor but is laid loosely on a special underlay. This method is quick and easy, making it ideal for DIY enthusiasts who want to install the flooring themselves.
1. Prepare the Subfloor
Before starting the installation, thorough preparation of the subfloor is essential:
• Cleaning: Remove any dirt, dust, and debris. Use a vacuum cleaner and a damp mop.
• Leveling: Check the floor for any unevenness. If necessary, use a leveling compound to create a smooth surface. A level subfloor is crucial for the stability of the vinyl flooring.
2. Lay the Sound Insulation
Proper sound insulation is critical for heat transfer and noise reduction:
• Insulation Choice: Use a sound insulation with quartz sand, as it optimally stores and evenly distributes heat.
• Laying the Insulation: Roll out the insulation and cut it to size. Ensure that the insulation covers the entire floor without overlapping.
3. Install the Vinyl Flooring
Now you can begin the actual installation of the vinyl flooring:
• Starting Point: Begin at a wall and work your way out from there. Lay the first row of vinyl planks along the wall.
• Expansion Gaps: Leave an expansion gap of about 5-10 mm around the edges. This gap allows the floor to expand and contract with temperature changes without causing deformation.
• Laying the Planks: Lay the vinyl planks loosely on the insulation. Ensure the planks fit tightly together without gaps. Use a tapping block and a hammer to gently push the planks together.
4. Cut the Edges and Corners
The final step is to adjust the planks to fit the room's dimensions:
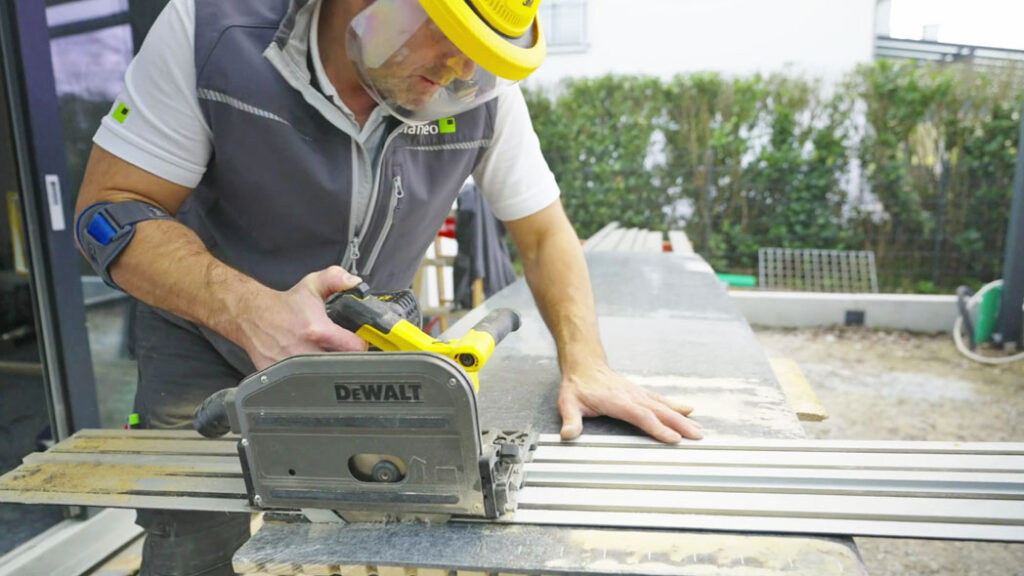
• Precise Cutting: Cut the vinyl planks to fit precisely along the edges and corners of the room. Use a utility knife or a vinyl cutting machine.
• Fitting the Planks: Place the cut planks and check their fit. Ensure the expansion gap is maintained.
• Final Adjustments: Inspect the entire floor for any gaps or uneven areas and correct them if necessary.
With this detailed guide, the floating installation of your vinyl flooring on underfloor heating should be straightforward. Always work precisely and maintain the expansion gaps to achieve optimal results.
Full-Surface Bonding: Step-by-Step Guide
In this method, the vinyl flooring is adhered directly to the subfloor using a special adhesive. This approach offers greater stability and better heat transfer but is more complex to execute.
1. Prepare the Subfloor
Preparing the subfloor is crucial for the success of full-surface bonding:
• Cleaning: Thoroughly remove all dirt, dust, and debris. Use a vacuum cleaner and a damp mop to ensure the subfloor is completely clean.
• Leveling: Carefully inspect the floor for any unevenness. Use a leveling compound to create a smooth surface. A flat, even subfloor is essential for adhesion and the final result.
2. Apply the Adhesive
Choosing the right adhesive and its proper application are critical:
• Adhesive Selection: Use an adhesive specifically designed for vinyl flooring that is suitable for underfloor heating. Follow the manufacturer's instructions precisely.
• Apply the Adhesive: Spread the adhesive evenly on the subfloor using a notched trowel. Work in small sections to prevent the adhesive from drying too quickly. Ensure the adhesive is applied thinly and evenly for consistent coverage.
3. Lay the Vinyl Flooring
Laying the vinyl planks requires care and precision:
• Lay the Planks: Start at a wall and place the vinyl planks onto the applied adhesive. Press the planks firmly to ensure good adhesion. Work quickly to prevent the adhesive from drying out prematurely.
• Avoid Air Bubbles: Ensure no air bubbles are trapped under the planks. Use a roller to press the planks evenly and remove any air bubbles.
4. Cut the Edges and Corners
For a perfect finish, the planks must be cut precisely:
• Cutting: Use a utility knife or a vinyl cutter to cut the vinyl planks to fit precisely along the edges and corners of the room.
• Fitting: Place the cut planks and check their fit. Ensure there are no gaps or uneven areas.
5. Finishing and Inspection
After laying the vinyl flooring, several final steps are necessary:
• Inspection: Walk over the entire area and check that all planks are firmly attached and there are no gaps or uneven areas.
• Rolling: Roll the entire floor surface again to ensure all planks adhere evenly and there are no air bubbles.
• Curing Time: Allow the floor to cure according to the adhesive manufacturer's instructions before walking on it or placing furniture.
With this detailed guide, full-surface bonding of your vinyl flooring on underfloor heating should be successful. This method creates a stable, durable, and aesthetically pleasing result, ensuring a comfortable living environment.
Conclusion
Installing vinyl flooring on underfloor heating requires special considerations but provides an excellent way to create a comfortable and energy-efficient home. Whether floating or fully bonded, both methods are feasible for DIY enthusiasts if the correct steps are followed. However, note that full-surface bonding is more demanding and complex. With careful preparation and precise work, you will achieve optimal results and a pleasant living atmosphere.
Experience the best service with planeo - because you need it!
No matter what challenges you face with your project, planeo provides you with the right solution. Benefit from the advantages of our services:
- Free samples⁴ for many of our products: Order samples at no cost, for instance, of our vinyl floors, click vinyl, adhesive vinyl, or rigid vinyl.
- Free storage³ - for several months and delivery on the date of your choice.
- Expert advice¹ - We offer professional consultation through our contact page or answer your questions directly in the comments.
These topics might also interest you
Installing Vinyl Flooring: Avoiding Mistakes

 20.02.2025