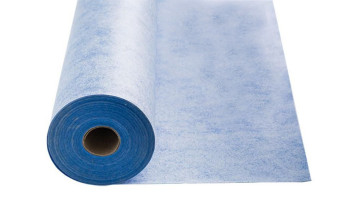
Perimeter Insulation Strips (e.g., for Sound Insulation)
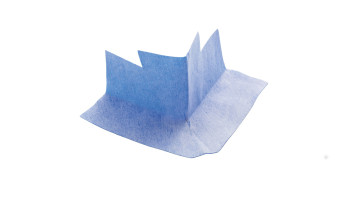
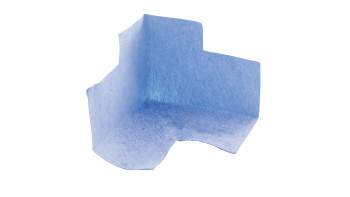
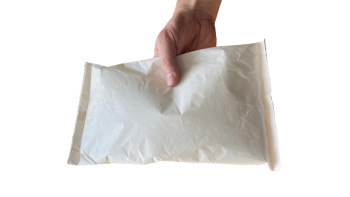
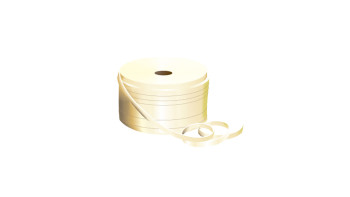
Perimeter insulation strips are essential to prevent sound transmission between floors and walls. These strips, usually made of foam or mineral wool, are laid along the wall edges. They not only offer excellent sound insulation but also compensate for slight unevenness. The use of perimeter insulation strips is especially important in multi-family homes or rooms where high impact sound is expected.
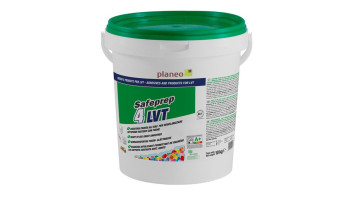
Bonding Primers (Quartz Sand Enriched) for Better Adhesion
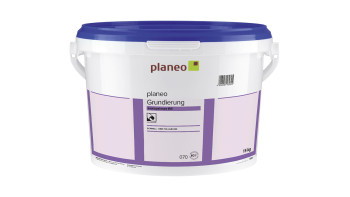
Bonding primers, often referred to as primers, improve the adhesion between the substrate and subsequent layers. Particularly effective are bonding primers enriched with quartz sand, which provide a rough surface ensuring optimal bonding. They are primarily used on smooth and less absorbent substrates to achieve better mechanical anchoring. The application is usually done with a roller or brush. It is important to observe the drying time of the bonding primer before proceeding with further work.
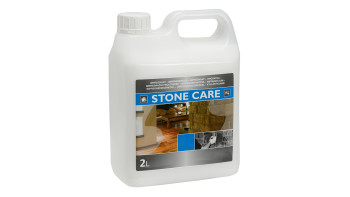
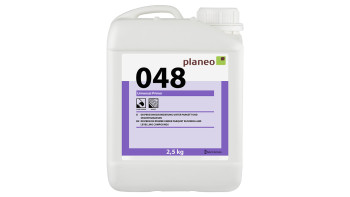
Primer: Penetrating Primer
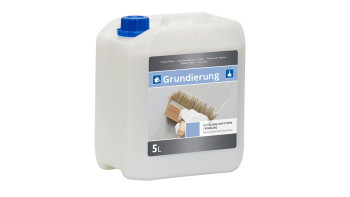
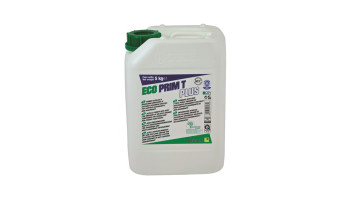
Penetrating primer is a special type of primer that deeply penetrates the substrate and regulates its absorbency. It is mainly used on highly absorbent substrates like plaster or concrete. The penetrating primer ensures that subsequent layers dry evenly and adhere firmly. It also prevents excessive moisture from penetrating the substrate, which could affect the durability of the final coating. The application is usually done with a brush or roller, and it is important to observe the drying time before proceeding with further work.
Primer: Adhesion Primer
Adhesion primer is a primer used on smooth and dense substrates to improve their adhesion. It often contains quartz sand, which creates a rough surface and facilitates the mechanical anchoring of leveling compounds or adhesives. Adhesion primer is typically used on non-absorbent substrates like old tiles or concrete. Here too, observing the drying time is crucial to achieve the desired adhesion effect.
Leveling Compound: Self-Levelling Compound for Levelling Work
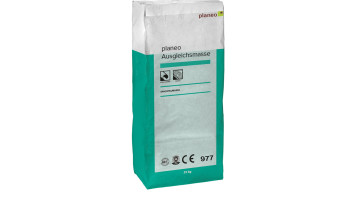
Self-levelling compounds are self-flowing leveling compounds ideal for leveling uneven floors. They are applied in liquid form and spread evenly, creating a smooth and level surface. Self-levelling compounds are particularly useful for quickly and efficiently leveling larger areas. Before application, the substrate should be thoroughly cleaned and, if necessary, primed to improve adhesion.
Processing Steps
- Substrate Preparation: Thoroughly clean the substrate and, if necessary, apply a suitable primer to improve adhesion.
- Mixing: Mix the self-levelling compound according to the manufacturer's instructions. Use a suitable mixer to achieve a homogeneous mass without lumps.
- Application: Pour the mixed self-levelling compound onto the substrate and spread it evenly with a smoothing trowel or rake. Start in a corner of the room and work systematically towards the opposite side.
- Deaeration: To avoid air pockets and bubbles, use a spiked roller to carefully roll over the freshly applied compound.
- Drying: Allow the self-levelling compound to dry completely according to the manufacturer's instructions. Pay attention to ambient conditions such as temperature and humidity, which can affect the drying time.
- Post-Treatment: After drying, any remaining unevenness can be sanded down. The surface should be smooth and level, ready for the subsequent floor covering.
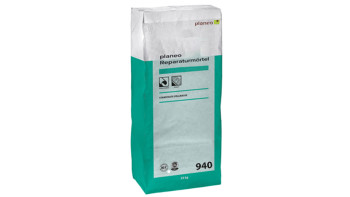
Filler: Fine Filler for Smooth Surfaces
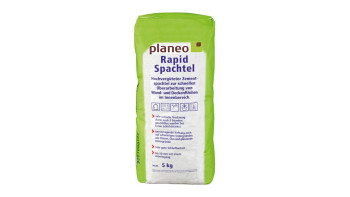
Fine filler is used to fill smaller irregularities and holes and create a smooth surface. It is ideal for the post-treatment of wall and floor surfaces that will later be painted, wallpapered, or covered with other finishes. Fine filler is applied in thin layers and sanded after drying to achieve a perfect surface.
Processing Steps
The processing of fillers is carried out in several steps:
- Mixing: Mix the filler according to the manufacturer's instructions. It is important to achieve the right consistency for optimal workability.
- Application: Apply the filler evenly on the prepared substrate and distribute it with a smoothing trowel.
- Drying: After application, the filler must dry completely before further work can be done. The drying time varies depending on the product and layer thickness, but generally takes several hours to a day.
- Post-Treatment: After drying, the surface can be sanded and further treated as needed.
Bathroom Waterproofing
Protection against Water Damage and Mold Growth
Waterproofing bathrooms and other wet areas is essential to prevent water damage and mold growth. Without proper waterproofing, moisture can penetrate the building fabric and cause long-term damage. Good waterproofing not only protects the building fabric but also contributes to the health of residents by preventing the growth of mold and other health-threatening microorganisms.
Materials and Techniques: Waterproofing Membranes, Liquid Waterproofing
Various materials and techniques are available for waterproofing bathrooms:
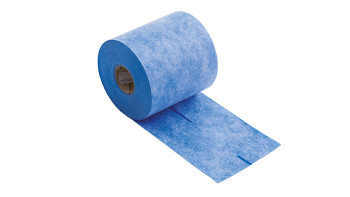
- Waterproofing Membranes: These are a traditional method where sheets of bitumen, plastic, or other waterproof materials are applied to the substrate. These sheets are often laid overlapping and well-bonded at the edges to create a continuous waterproof layer.
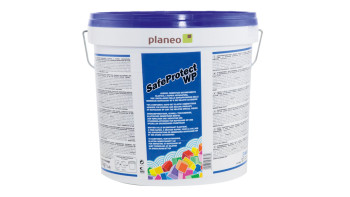
- Liquid Waterproofing: These consist of pasty or liquid materials applied directly to the substrate. They offer the advantage of providing seamless waterproofing even in hard-to-reach areas. Liquid waterproofing is applied in several layers and must dry between layers to ensure reliable waterproofing.
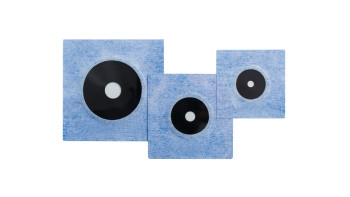
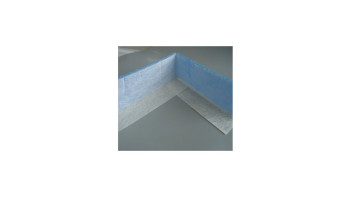
In both cases, it is important to carry out the waterproofing carefully and according to the manufacturer's instructions to achieve maximum effectiveness. Special attention should be paid to the transitions between walls and floors, as well as to the penetrations for plumbing installations, as these areas are particularly prone to leaks.
Conclusion
By carefully preparing and waterproofing the substrate, you create the foundation for a durable and high-quality renovation or construction project. Using the right tools and materials ensures that your floors and walls are optimally prepared and that your new coverings will provide long-lasting enjoyment.
