Repair vinyl flooring in 3 steps – here’s how

 ca. 9 Min.
 0
0 26.07.2024
Photo: karepa / stock.adobe.com
Vinyl flooring is a great choice. The durable and water-resistant surface of design/vinyl flooring can withstand many stresses, but unfortunately it is not completely indestructible. Installation errors, moisture beneath the vinyl flooring or damage caused by sharp-edged furniture feet, small stones on the soles of shoes or years of use cannot be ruled out.
While extensive damage to vinyl flooring can often only be remedied by replacing the entire floor, smaller areas of damage can certainly be repaired in three simple steps. We show you how to successfully tackle the task of “repairing vinyl flooring”.
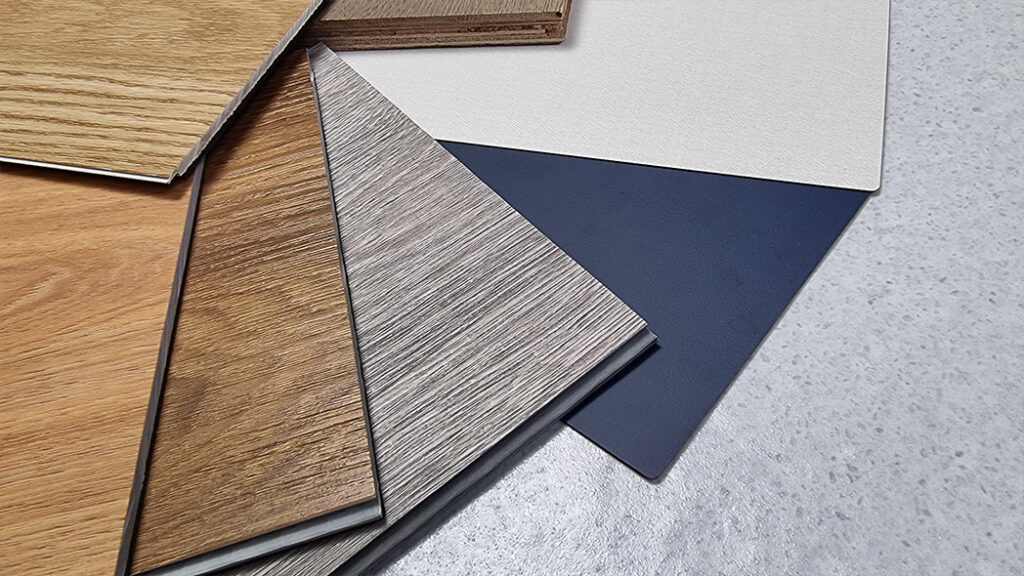
No longer possible to repair? If the damage is too extensive or you can no longer obtain a suitable replacement plank, you can find the right vinyl flooring for your project with us.
Content
Step 1: identify the damage
If something is wrong with your vinyl flooring, the first step is to identify the damage as precisely as possible. The most common faults and types of damage are bulges in the vinyl flooring, holes or cracks and loose corners and edges. There may also be superficial signs of wear such as scratches or deeper grooves.
Many of these unsightly areas of damage on your vinyl flooring can be repaired with relatively little effort. Whether you can carry out the repair yourself, however, depends on the type and cause of the damage. In the case of more extensive damage or an unclear cause, a more detailed inspection or assistance from a specialist company may be advisable.
Depending on the type of damage, you can often repair small and clearly defined areas yourself. This guide shows you how. And that brings us to step 2.
Step 2: assess the repair effort
If large areas of the entire vinyl floor are visibly damaged, you should replace the flooring across the whole area. In most cases, a partial repair makes little sense and, at worst, can involve a great deal of work. To install new vinyl flooring, you need to completely clear the room, remove all of the old vinyl flooring and install new flooring. When repairing click vinyl, this may involve a floating installation using click vinyl planks. Alternatively, it may be a fully bonded vinyl floor made up of individual planks installed with a special adhesive.
It is often also possible to repair individual damaged areas of vinyl flooring. To do this, the amount of work involved needs to be assessed fairly accurately. For superficial damage such as scratches and light grooves, treatment with suitable care or repair products is often sufficient. In some cases, simple repairs using suitable materials and tools can also be a good solution.
For holes in vinyl, it is advisable to replace the affected area with a matching piece made from the same material and with the same colour and/or pattern. There are several ways to do this, which we would like to show you here. It is important that you still have some of the same vinyl flooring available or can buy more of it.
There are also effective ways to repair dents or cracks in vinyl. You can find out more about these below.
Step 3: repair the vinyl flooring
Here we take a closer look at the different types of damage and the options for repairing them. Once again, we follow the sequence identify the damage, assess the repair effort and carry out the repair.
Dents in vinyl flooring
Dents and bulges in vinyl flooring can have different causes. They are often caused by incorrect installation or an unnoticed water leak. You should therefore first check the cause of the damage. If dents or bulges appear in fully bonded vinyl flooring, for example, the adhesive bond may have come loose. Whether the affected area can be bonded back down using heat and pressure depends on the particular flooring and adhesive system. Always follow the manufacturer’s instructions.
If this type of repair is not sufficient, cut out the affected plank or tile using a steel ruler and a sharp utility knife. Then remove the old adhesive cleanly and completely before bonding the plank or tile back down with a vinyl adhesive suitable for the flooring. Apply the adhesive in accordance with the manufacturer’s specifications for trowel notch size and application and press the plank or tile firmly into place. Remove excess adhesive in accordance with the application instructions for the adhesive being used. After the specified drying time, the repaired area may be considerably less noticeable depending on the design and type of damage.
If moisture has accumulated in the affected area due to water damage, the floor must be allowed to dry sufficiently after the plank or tile has been removed. The cause of the water damage must be identified and eliminated. Only once the cause has been remedied and the subfloor is sufficiently dry can the cut-out plank or tile be bonded back down or the floor rebuilt.
With click vinyl flooring, it is advisable to dismantle the floor step by step until you reach the dent or bulge. A new click plank is then inserted at the damaged area and the floor is laid again across the full surface. Make sure that no tension develops between the individual planks or tiles, particularly where they meet the walls, and that the expansion gaps are maintained.
Loose edges or corners
Loose edges or corners can be repaired in a similar way. With fully bonded flooring, bond the damaged areas back down. With click vinyl flooring, replace the damaged planks or tiles with new ones. Again, make sure the floor is installed without tension and that the recommended expansion gaps are maintained.
Scratches on the surface
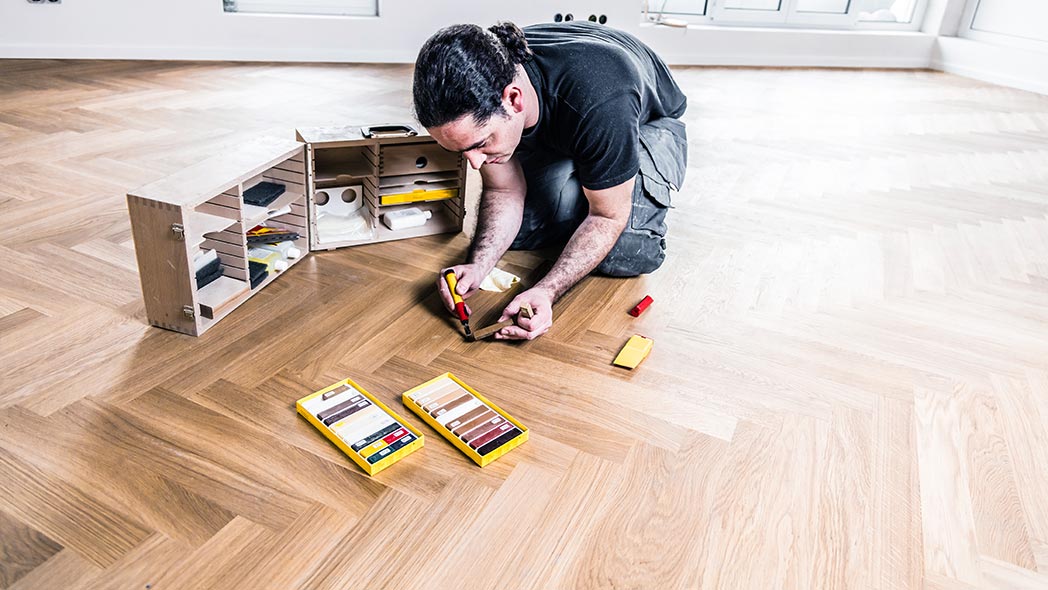
Depending on their depth, scratches on vinyl flooring can be repaired relatively easily. For light, superficial scratches, care or touch-up products approved for the particular vinyl flooring may be sufficient. For more pronounced scratches or scuffs, special repair kits can be used. These may contain repair wax, plastic compounds or repair pens, for example, which can be colour-matched to the particular vinyl flooring. The correct method of use is specified in the manufacturer’s application instructions.
For deep or structural damage, however, replacing the affected plank or tile may be the more appropriate solution.
Repairing holes in vinyl flooring
Holes in vinyl flooring can be repaired in different ways. Small holes can be treated in a similar way to scratches in vinyl flooring. Fill the small holes with a repair material suitable for the particular floor and remove any excess material with a plastic scraper. Then clean around the edges of the repaired area with a cloth and allow the material to cure in accordance with the manufacturer’s instructions. For deeper damage, a suitable repair kit may be required.
For larger holes, it may be useful to punch out the damaged area with a sharp round punch and replace it by bonding in a repair patch. Simply cut this patch from an offcut of the installed vinyl flooring and bond it into the damaged area.
Replacing the entire plank or tile may also be advisable, provided you have a replacement plank or tile available or can obtain one. This applies particularly to severe or structural damage. In this case, completely cut out the damaged plank or tile and fully bond the replacement in place. If the flooring is click vinyl flooring, replace the damaged area by dismantling the floor up to the damaged section, replacing the damaged plank or tile and then reinstalling the rest of the flooring that was removed.
Cracks in vinyl flooring
Cracks in fully bonded vinyl flooring may in some cases be closed by bonding the area again. In most cases, however, it will be better to replace the affected plank or tile completely with a new plank or tile.
Preventing damage to vinyl flooring
A few simple measures can help reduce scratches and other damage to vinyl flooring. Fit suitable felt pads underneath furniture and use entrance mats in entrance areas. Small stones, sand and coarse dirt should be removed regularly so that they are not dragged across the surface when the floor is walked on. Also take care not to drag heavy or sharp-edged objects across the floor without protection.
Conclusion
Depending on the type of damage, damaged vinyl flooring can often be repaired with relatively little effort. When suitable tools and materials are used correctly, repaired areas can become considerably less noticeable. How good the result is, however, depends on the damage, the design and the repair method chosen. You should therefore follow the sequence identify the damage, assess the repair options and carry out the repair correctly. In the case of more extensive or structural damage, replacing a plank or tile may be the better option.
 20.02.2025