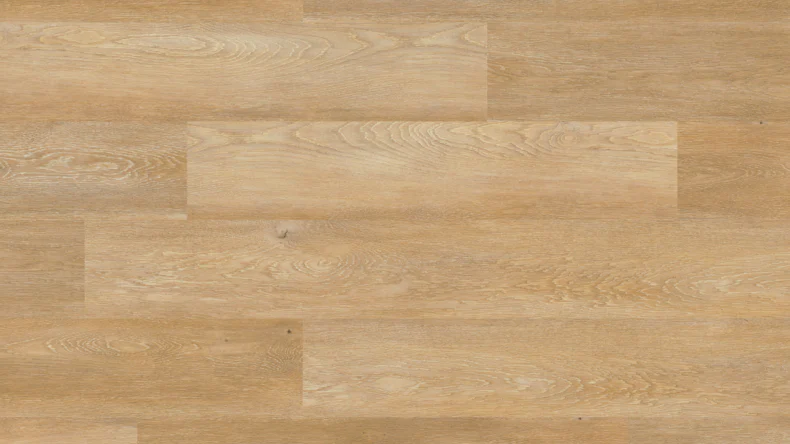
Project Floors loose-laying Vinyl - LOOSE-LAY/55 PW 1250/L5 (PW1250L5)
0,55 mm Wear layer - 42 Industrial (moderate) - Full vinyl - Beveled edge (4 sides) - Wood effect - Plank pattern - beige
Item no.:
PW1250L5

The vinyl floors from the Loose Lay collection by Project Floors are hard-wearing and quick to install:
| item no. | PW1250L5 |
|---|---|
| Manufacturer | Project Floors |
| Collection | LOOSE-LAY/55 |
| Length in mm | 914 |
| Width in mm | 183 |
| Thickness in mm | 4.2 |
| Wear layer | 0.55 mm |
| Wear class | 42 Industrial (moderate) |
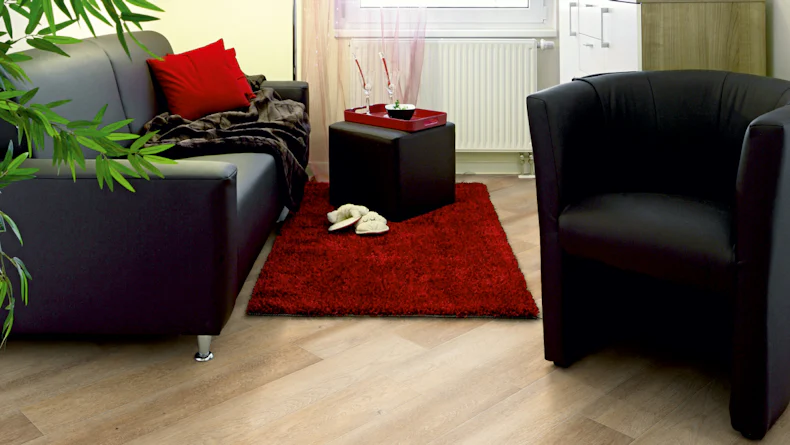
| suitable for | Bath, Kitchen, Bedroom & living room, Hallway & Corridor |
| Installation type | loose-laying |
| installation pattern | Plank pattern (1-plank) |
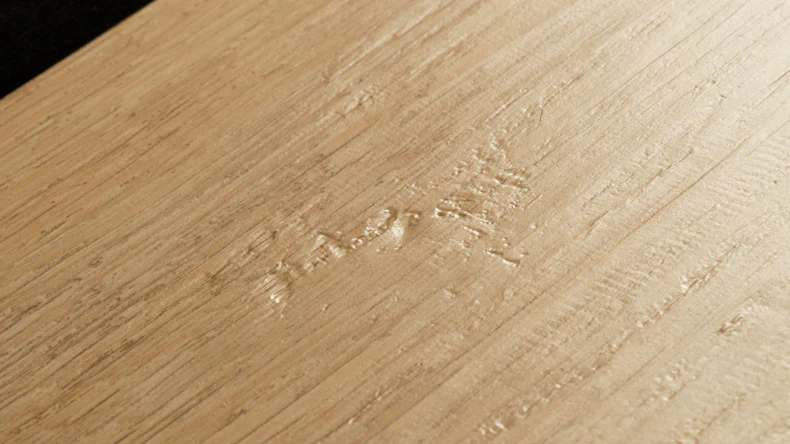
| Sorting (grain) | natural/classic |
| Look | Wood effect |
| Special features | Suitable for humid rooms, Waterproof |
| Warranty | 15 Jahre Privat, 5 Jahre Gewerbe |
| EAN | 4250664350188 |
| Structure | Full vinyl |
| Joint | Beveled edge (4 sides) |
| Piece per package | 10 |
| Shipping group | L |
| Colour | beige |
| Weight | 11.69 kg / Packing |
| Style | Classic |
| Range of application | Commercial, Industrial |
| Underfloor heating | Hydronic UFH compatible |
| Package Content | 1.67 m² |
MO - FR 8am to 5pm
SA 9am to 2pm
Copyright © 2026 Planeo - All rights reserved -
v2.152.0
All prices incl. VAT plus shipping costs
1 We are available by phone from Monday to Friday from 8 a.m. to 5 p.m. and Saturday from 9 a.m. to 2 p.m. 2 For express delivery service, there is a charge of 10 euros; for the package and 50 euros; for the shipping deliveries. Express delivery is only possible within mainland Germany and only if all products in the shopping basket are ready for express delivery. In addition, notification by the delivery service is omitted. 4 The sample service includes up to 5 product samples and is free of charge for the delivery areas: Germany, Europe 1 and 2. You can see the availability of the sample by clicking on the « sample » button on the product page. 5 The voucher is valid from an order value of 149 euros;. Multiple voucher promotions cannot be combined with each other.* While stocks last.