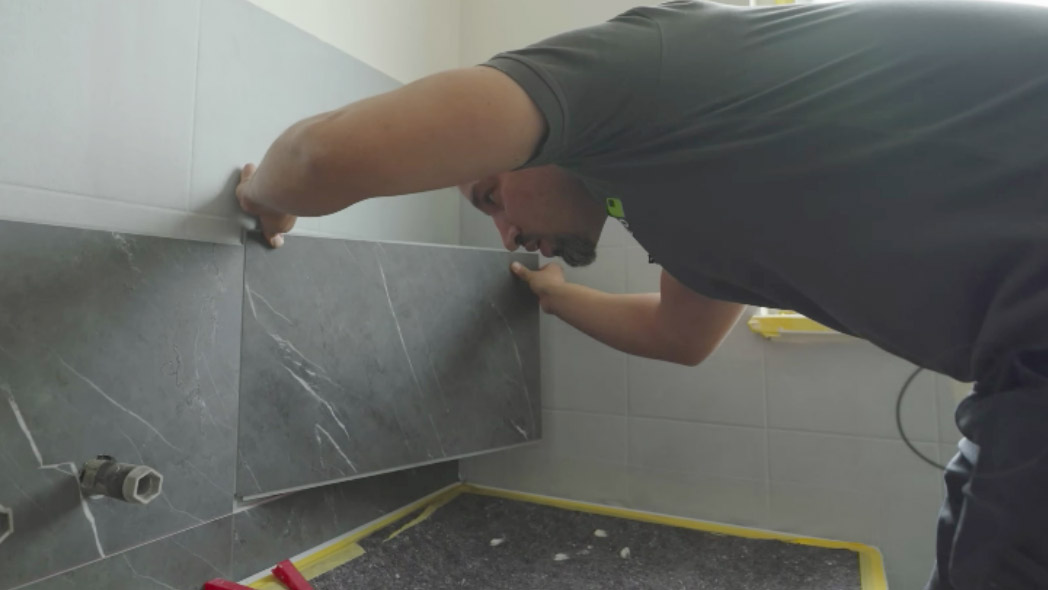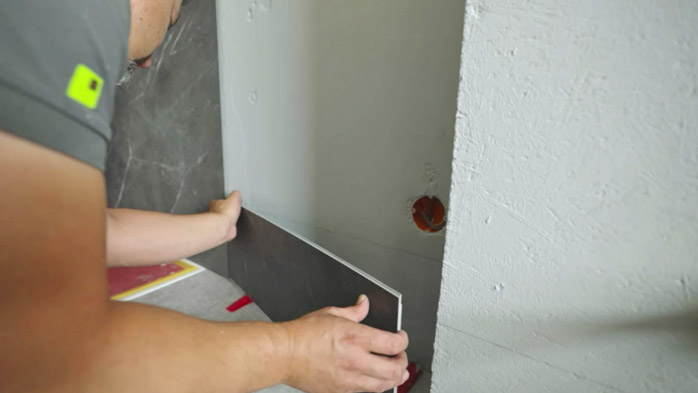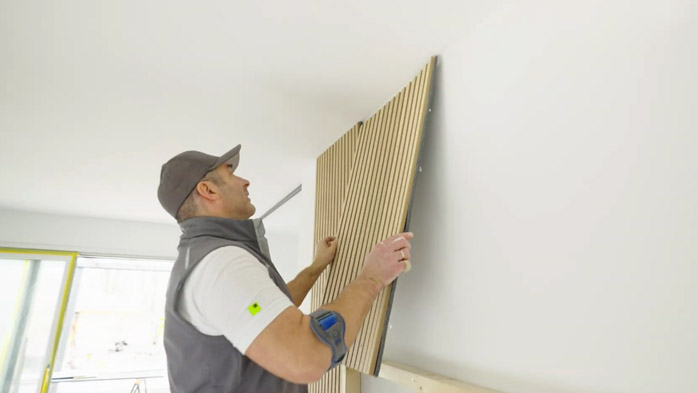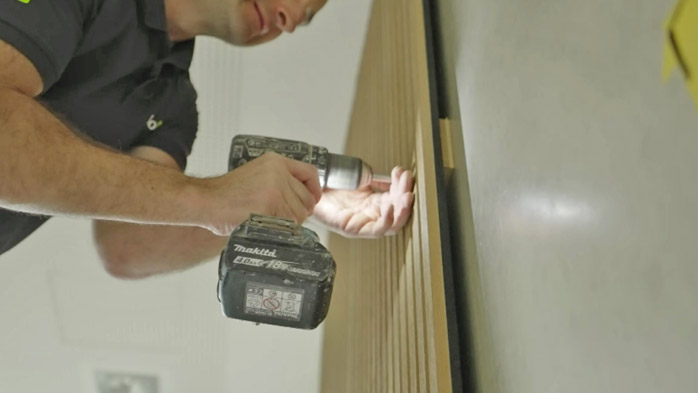
Wall panels offer a simple, quick, and cost-effective way to give plain walls a fresh look, adding style and structure to your spaces. Additionally, these versatile design elements contribute to a noticeably audible and tangible improvement in room acoustics. In our following guide, we’ll explain the different types of wall panels and show you, step-by-step, from proper preparation to professional installation, how you can easily install wall cladding yourself.
Content
What Are Wall Panels?
Panels are boards used to cover walls and ceilings either completely or only in specific areas. This can be beneficial for various reasons. Wall panels can enhance thermal and sound insulation and conceal unattractive areas like old paintwork or wallpaper, damaged tiles, rough unevenness, or small pipes and cables quite easily. By selecting specific surface textures, colours, and designs, you can add a personal touch to any room that perfectly reflects your taste and interior style.
Wall cladding has a long tradition that was temporarily forgotten but has recently regained popularity. This is largely due to the high-quality materials, unique designs, and varied textures that characterise modern wall panels. They are typically made from wood, MDF, or other engineered woods. For rooms with high humidity, materials like plastic are suitable; however, in all other rooms, wood panels remain the most popular option. This preference arises not only from the variety of wood panel options available but also from their special properties.

Quick and Easy Wall Cladding with Wood Panels
Wood wall panels have a range of advantages that make them so popular. They are easy to install and can create a different visual impact in the room depending on the direction of the joints (see Tips & Tricks). Not only do wood panels offer aesthetic appeal, but they are also functional: they provide sound insulation and are therefore often referred to as acoustic panels. They are heat-retentive, helping you to save on energy and heating costs, which benefits both the environment and your wallet. Additionally, they help regulate moisture levels, positively influencing the room climate. They can also be easily painted in the desired colour if needed. Wood panels are by far the most widely used type of wall panel, and as such, they will be the main focus of the following sections.
How to Secure / Mount Wall Panels
There are two main ways to secure wall panels to the wall: you can either glue them directly to the wall or first install a substructure onto which the panels are mounted. Both methods have advantages, allowing you to choose based on your personal priorities and preferences.
Gluing wall panels directly to the wall with a specialised adhesive requires little preparation and expertise. Additionally, few extra materials or tools are needed. Since the panels are secured directly onto the wall, they do not take up any extra space – perfect for small rooms where every inch counts. This method is very cost-effective and results in a clean finish, as there are no visible fastenings such as screws or profiles. However, directly attaching the panels leaves no space for cables, wiring, or additional insulation material behind the panels. On uneven walls, unsightly gaps or waves may form, as the panels cannot adapt evenly to the irregularities.

Note: In rental properties, you should consult with your landlord before gluing panels to the wall and/or ensure they can be removed without residue upon moving out. This is easiest to achieve if you make the necessary preparations during installation (see Tips & Tricks).
Alternatively, wall panels can be mounted on a substructure. This structure may consist of wooden battens or metal profiles attached to the wall, creating a consistent distance between the wall and the panels. The panels are then attached to the substructure by screwing or hanging them. Mounting on a substructure has the advantage of easily concealing wall irregularities. Additionally, the space between the panels and the wall can be used discreetly to hide cables, wiring, speakers, or insulation materials. Should your wall cladding preferences change over time, panels fixed to a substructure are easier to replace or remove entirely without damaging the wall. However, cladding with a substructure takes up more space and requires more time, materials, and DIY skills for installation.
Regardless of the installation method you choose, it is essential to plan the installation carefully. This includes measuring the wall area and panels precisely. Measure meticulously and mark corner points on the wall with a pencil. Use a laser or a spirit level to draw straight lines. The following steps will depend on whether you choose to glue the panels directly to the wall (i.e., without a substructure) or to secure them onto a substructure.

Step-by-Step Guide: Option I – Gluing Wall Panels
The simplest method to secure wall panels is by gluing them directly to the wall. Only the following steps are required:
- Ensure the surface is even and smooth, clean, and dry. This will allow the glued panels to adhere securely.
- Generously apply adhesive to the back of the precisely cut panels. A zigzag pattern is effective, ensuring the adhesive is evenly distributed and the panels stick well across the entire surface.
- Carefully position the panels at the previously marked points on the wall and press them lightly.
- Check the alignment using a laser level or spirit level. If the panel is not perfectly aligned, you can adjust its position within the first 10 minutes.
- Once positioned correctly, press the panels firmly against the wall for a few moments to secure.
Step-by-Step Guide: Option II – Mounting Wall Panels with a Substructure
- Depending on the intended panel orientation, position the battens for the substructure accordingly. A 90° angle is ideal; for example, if the panels are to be installed vertically, the battens should run horizontally, and vice versa. The spacing between battens depends on panel length. Generally, a gap of approximately 40 cm provides adequate stability and even load distribution.
- Using a pencil, mark the drilling points on both the battens and the wall, starting with the outer edges. Ensure the markings are perfectly straight, both vertically and horizontally, using a spirit level for accuracy.
- Drill holes at the marked positions, using the appropriate drill type (e.g., a hammer drill for concrete or stone).
- Insert the correct wall plugs into the pre-drilled holes.
- Place the battens at the marked points on the wall and screw them firmly in place. Make sure each batten is level and securely attached, double-checking with a spirit level.
Note: If you wish to add extra insulation behind the panels, you’ll need a substructure that creates enough space between the wall and the panels. Use breathable insulation, which allows airflow and prevents mould formation. - Attach the wall panels to the substructure. You can screw, nail, or use mounting clips – whichever you prefer. Using mounting clips has the advantage of preserving the material and allowing it more room to expand and contract. Start at one corner and work your way along, regularly checking to ensure the panels are level.
Tips & Tricks
For easy removal of glued wall panels in rental properties, consider priming the wall with wallpaper primer and applying non-woven wallpaper on top before attaching the panels. This way, if you need to remove the panels later, you can simply peel them away along with the wallpaper.
The selection of wood panels is vast, making the decision challenging. For a harmonious look, it’s advisable to match the wood type of the wall panels with the flooring and furniture. Simple patterns work well, especially with high-quality wood where the grain can speak for itself. Depending on your personal taste, you can also create visual accents with unique profiles or contrasting skirting boards.
A substructure can be made of wood or metal. Wooden battens are easier to work with and provide an insulating effect, whereas metal profiles are more moisture-resistant, making them especially suitable for damp rooms.
The visual effect of a room can be significantly altered depending on the direction of the panels. Panels with horizontal joints make the room appear wider, while vertical panels make the room feel taller. It’s even possible to cut and install the panels diagonally for a unique, dynamic look.
Conclusion
Wall panels offer a great way to give your rooms a fresh, high-quality appearance. Wall cladding can be an easy and cost-effective solution to cover damaged areas and improve room acoustics in large spaces with strong echo. Best of all, with proper planning, high-quality materials from Planeo, and a bit of DIY skill, installation is simple and quick – even for hobbyists.
Experience the best service with planeo - because you need it!
No matter what challenges you face with your project, planeo provides you with the right solution. Benefit from the advantages of our services:
- Free samples⁴ for many of our products: Order up to 7 free samples, such as our acoustic panels or other wall coverings.
- Express delivery² - for urgent projects and quick decisions.
- Expert advice¹ - We offer professional consultation through our contact page or answer your questions directly in the comments.
These topics might also interest you
Acoustic Panels as a Coat Rack: A DIY Project
DIY Wall Panelling: A Guide to Stylish Walls
How to Cut Acoustic Panels Perfectly – A Foolproof Guide
What Are Acoustic Panels – Focusing on Function and Design
Bathroom Wall Cladding Instead of Tiles – A Tile-Free Approach
Simple and Effective: DIY Acoustic Panels!
Acoustic Panels – Adhesive or Screws: Which Is Better?